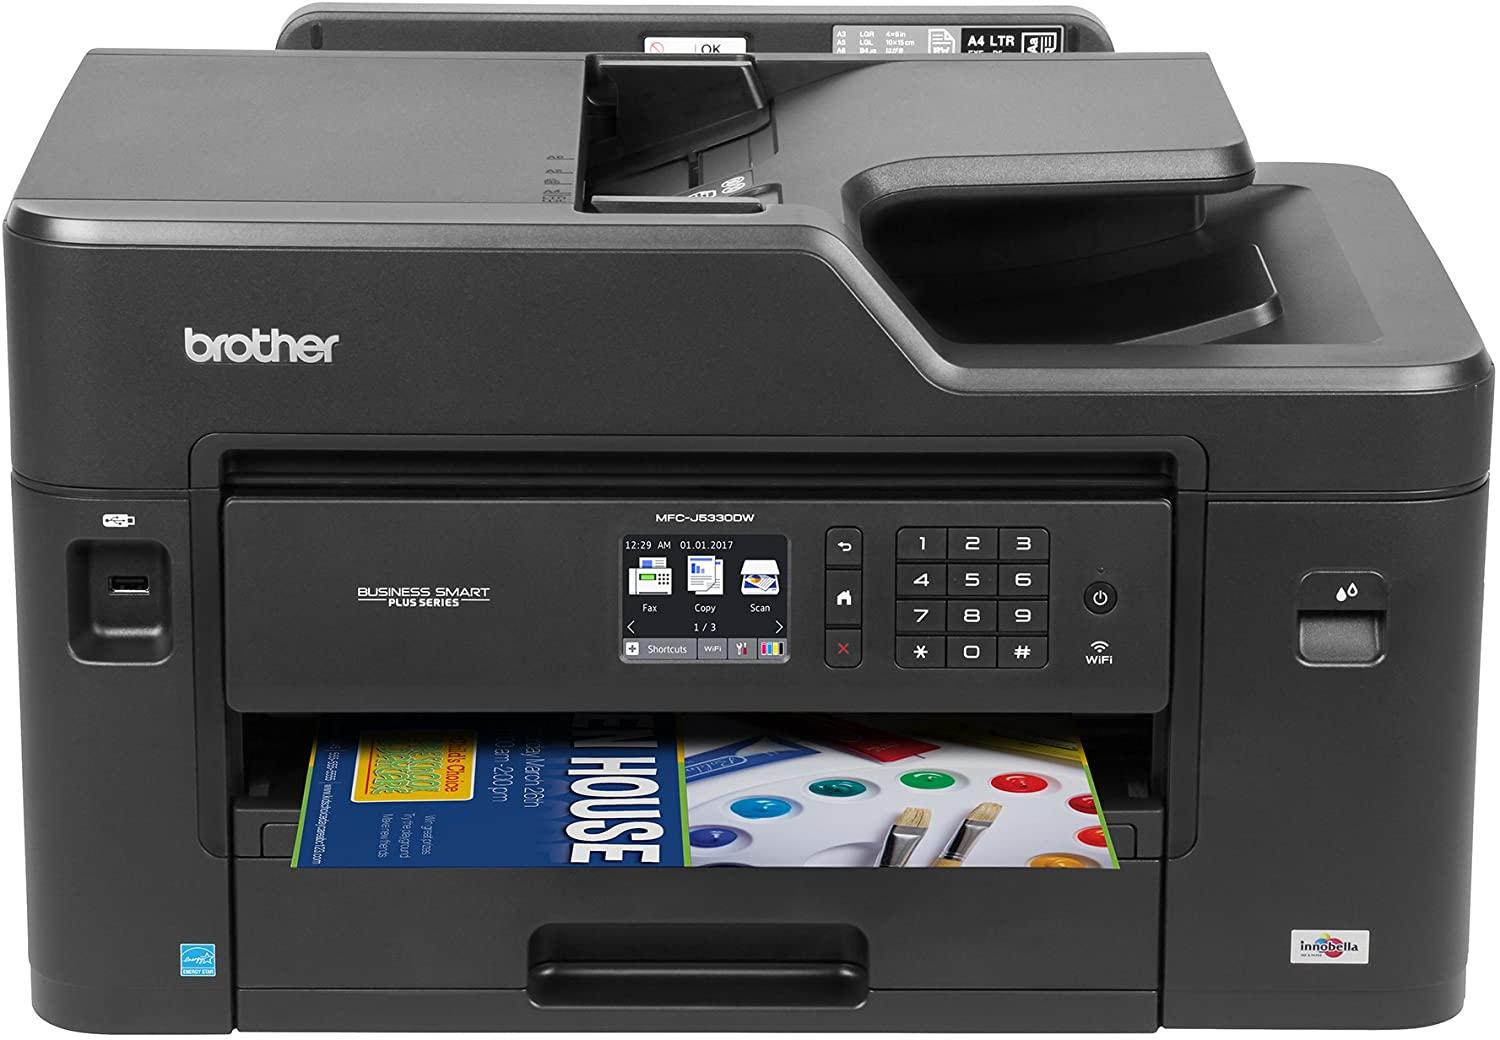
Brother printers are known for their reliability and efficiency, but like any electronic device, they can encounter issues that require troubleshooting. Whether you're experiencing printing errors, connectivity issues, or simply want to brother printer reset to its default settings, performing a reset can often resolve common problems. In this comprehensive guide, we'll walk you through the step-by-step process of resetting your Brother printer, ensuring that you can quickly and effectively address any issues that may arise.
Step 1: Power Off the Printer The first step in resetting your Brother printer is to power it off completely. Locate the power button on the printer and press it to turn off the device. Wait for the printer to shut down completely before proceeding to the next step.
Step 2: Disconnect Power Source Once the printer is powered off, disconnect the power cord from the electrical outlet or power strip. Ensure that there is no power running to the printer to prevent any potential damage during the reset process. Allow the printer to sit unplugged for at least 1-2 minutes to ensure that all residual power is discharged.
Step 3: Reconnect Power Source After the printer has been unplugged for a few minutes, reconnect the power cord to the electrical outlet or power strip. Make sure the connection is secure and that there are no loose or damaged cables. Once the power source is reconnected, proceed to the next step.
Step 4: Power On the Printer With the power cord reconnected, press the power button on the printer to turn it back on. Wait for the printer to boot up completely and initialize its settings. This process may take a few moments, so be patient and allow the printer to complete its startup sequence.
Step 5: Perform Factory Reset (Optional) If you wish to reset your Brother printer to its factory default settings, you can do so using the control panel or printer settings menu. Navigate to the settings menu on the printer's display panel or access the settings through the printer software on your computer. Look for an option to perform a factory reset and follow the on-screen instructions to confirm the reset process. Keep in mind that performing a factory reset will erase all custom settings and configurations, returning the printer to its original state.
Step 6: Test Printer Functionality Once the reset process is complete, it's essential to test the printer's functionality to ensure that the reset resolved any issues you were experiencing. Print a test page or attempt to print a document from your computer to verify that the printer is working correctly. If you encounter any further problems, refer to the printer's user manual or contact Brother support for assistance.
how to reset brother printer to factory settings :- Resetting your Brother printer can be an effective solution for addressing various issues, from printing errors to connectivity problems. By following these step-by-step instructions, you can safely and efficiently reset your printer to its default settings, restoring its functionality and performance. Whether you're troubleshooting a specific problem or simply want to start fresh, performing a reset on your Brother printer is a straightforward process that can help keep your printing experience smooth and hassle-free.